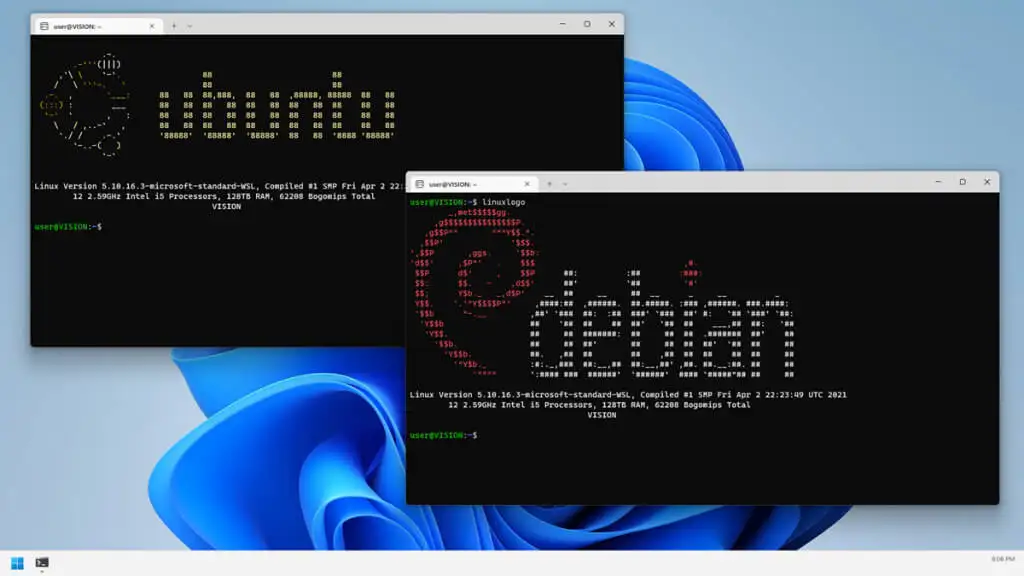
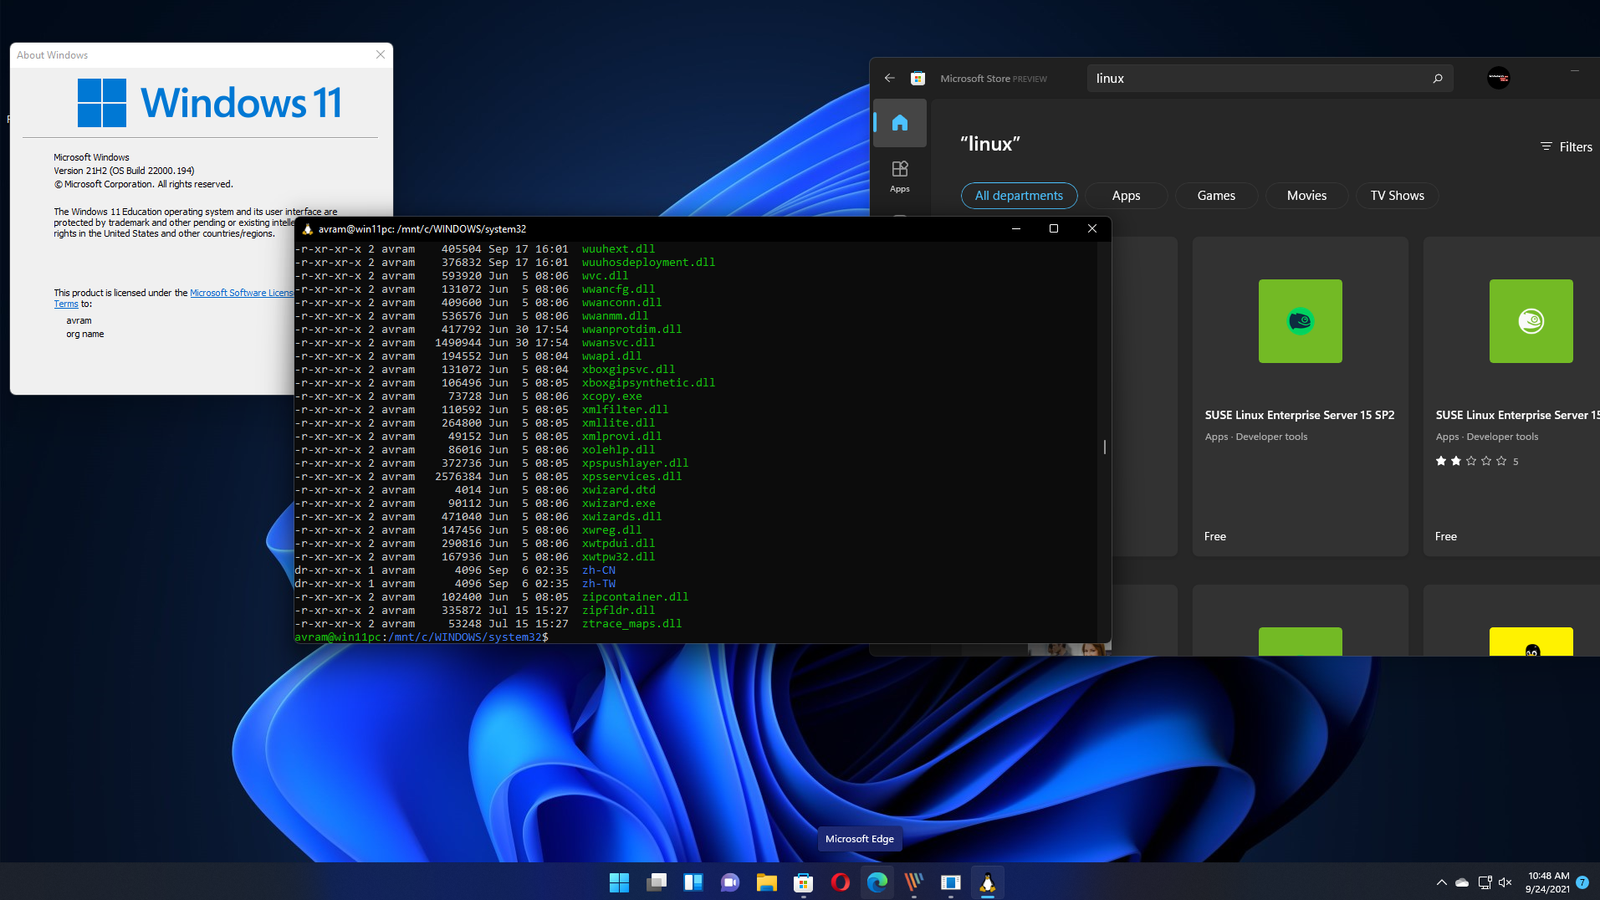
Windows Subsystem for Linux (WSL) has revolutionized how developers and IT professionals work by allowing them to run a Linux environment directly on Windows. With Windows 11, WSL has become even more powerful and user-friendly. This guide explores the features, setup, and usage of WSL on Windows 11, helping you leverage the strengths of both operating systems in one unified environment.
1. What is Windows Subsystem for Linux (WSL)?
WSL is a compatibility layer for running Linux binary executables (ELF format) natively on Windows 10 and 11. Unlike traditional virtual machines or dual-boot setups, WSL allows you to run Linux distributions directly alongside your Windows applications without the overhead of virtualization.
- Key Benefits of WSL:
- Efficiency: Run Linux command-line tools and applications with minimal resource usage.
- Interoperability: Access files and directories across both Linux and Windows environments seamlessly.
- Flexibility: Choose from a variety of Linux distributions like Ubuntu, Debian, or Fedora, and install them directly from the Microsoft Store.
2. What’s New in WSL for Windows 11?
Windows 11 brings several enhancements to WSL, making it more integrated and easier to use:
- Graphical User Interface (GUI) Support: Run Linux GUI apps natively on Windows without needing a third-party X server.
- Improved Performance: Windows 11 includes optimizations that make WSL faster and more efficient, especially for IO-heavy tasks.
- Simplified Installation: The
wsl --installcommand automates the setup process, making it easier to get started with WSL.
3. How to Set Up WSL on Windows 11

Setting up WSL on Windows 11 is straightforward. Here’s a step-by-step guide:
- Enable WSL:
- Open PowerShell as an administrator and run:
css
wsl --install
- This command installs WSL, sets up the default distribution (usually Ubuntu), and installs the WSL 2 kernel.
- Open PowerShell as an administrator and run:
- Choose a Linux Distribution:
- After installation, you can choose and install additional Linux distributions via the Microsoft Store. For example:
css
wsl --list --online

wsl --install -d <DistributionName>
- Popular choices include Ubuntu, Debian, and Kali Linux.
- After installation, you can choose and install additional Linux distributions via the Microsoft Store. For example:
- Set WSL 2 as Default:
- Ensure you’re using WSL 2 for better performance by setting it as the default version:
arduino
wsl --set-default-version 2
- Ensure you’re using WSL 2 for better performance by setting it as the default version:
- Accessing Your Linux Environment:
- Launch your installed Linux distribution from the Start menu or by typing
wslin the command prompt.
- Launch your installed Linux distribution from the Start menu or by typing
4. Using WSL: Key Commands and Features
Once WSL is set up, you can start using Linux commands and tools within your Windows environment. Here are some key features and commands to explore:
- Access Windows Files from Linux:
- Your Windows file system is accessible within Linux at
/mnt/c/. For example:bashcd /mnt/c/Users/YourUsername/Documents
- Your Windows file system is accessible within Linux at
- Running Linux Commands:
- Use Linux commands just like you would on a native Linux machine. For example:
sql
sudo apt update

sudo apt install build-essential
- Use Linux commands just like you would on a native Linux machine. For example:
- Running Linux GUI Applications:
- With WSLg (Windows Subsystem for Linux GUI), you can now run Linux graphical applications directly on Windows.
5. Integrating WSL with Development Workflows
WSL is especially useful for developers who need access to Linux tools and environments while working on Windows. Here are some common use cases:
- Web Development:
- Run web servers, databases, and other development tools in Linux while editing code in a Windows IDE.
- Data Science:
- Use Python, R, and other data science tools in a Linux environment, while leveraging the power of your Windows machine.
- DevOps:
- Manage Docker containers, Kubernetes clusters, and CI/CD pipelines using Linux-native tools.
6. Optimizing WSL for Your Workflow
To get the most out of WSL, consider these tips:
- Resource Allocation:
- Adjust the memory and CPU usage for WSL by editing the
.wslconfigfile in your Windows home directory.
- Adjust the memory and CPU usage for WSL by editing the
- File Sharing:
- Use the
\\wsl$network path to access your Linux files directly from Windows File Explorer.
- Use the
- Backup and Restore:
- Use
wsl --exportandwsl --importto back up and restore your Linux distributions.
- Use
Conclusion
Windows Subsystem for Linux on Windows 11 bridges the gap between two powerful operating systems, offering a unique and efficient development environment. Whether you’re a developer, IT professional, or Linux enthusiast, WSL allows you to harness the full potential of Linux on your Windows machine. As WSL continues to evolve, its role in the workflow of developers and system administrators will only grow, making it an indispensable tool in the modern tech landscape.
