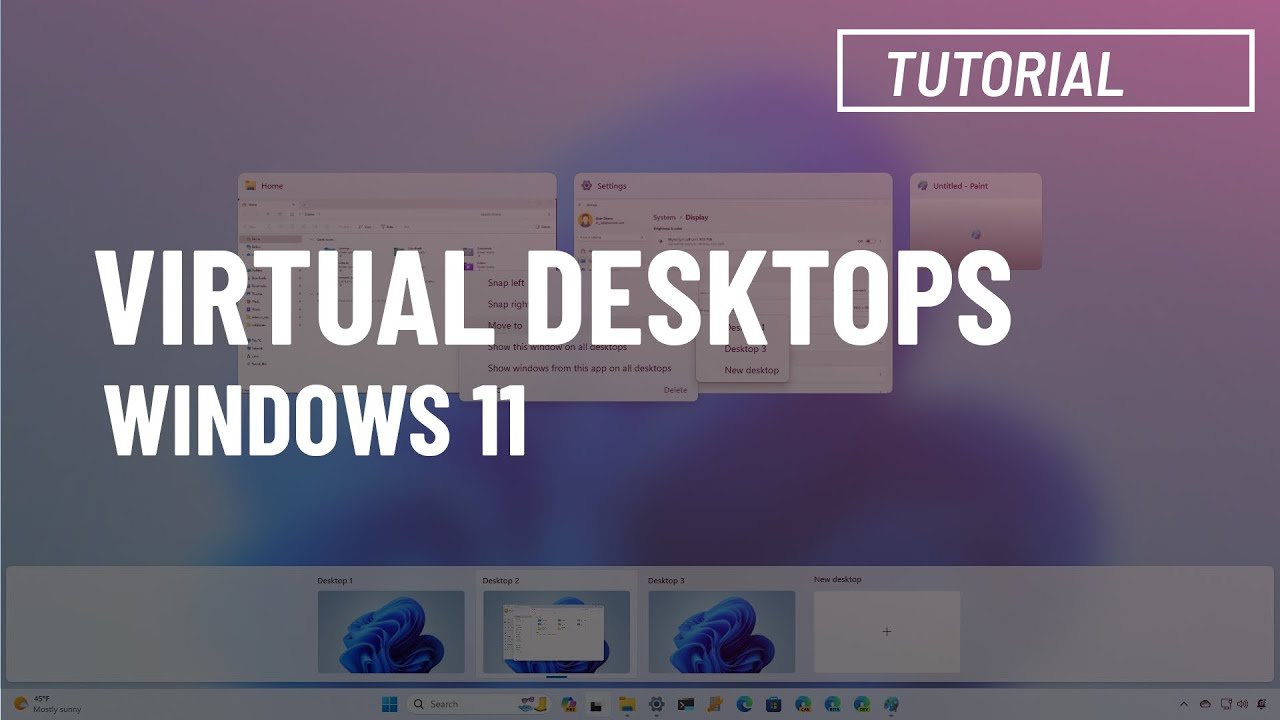
Windows 11 introduces several features designed to enhance productivity, and Virtual Desktops stand out as one of the most powerful tools. Whether you’re juggling multiple projects, managing different tasks, or simply trying to keep your personal and professional life separate, Virtual Desktops in Windows 11 can help you stay organized and focused. This guide will walk you through how to set up and use Virtual Desktops to maximize your productivity.
1. Understanding Virtual Desktops
What Are Virtual Desktops?
- Virtual Desktops allow you to create multiple desktop environments on a single computer. Each desktop can have its own set of open applications, windows, and layouts, making it easier to manage different tasks or projects.
Why Use Them?
- They help you declutter your workspace by grouping related applications and windows together.
- You can switch between different desktops quickly, making multitasking more efficient.
- Ideal for separating work and personal tasks or managing multiple projects simultaneously.
2. How to Create a Virtual Desktop

Step-by-Step Guide:
- Accessing Virtual Desktops:
- Click on the Task View button on the taskbar (the icon looks like two overlapping rectangles).
- If Task View isn’t visible, right-click the taskbar and select “Show Task View button.”
- Creating a New Desktop:
- In Task View, click on the “+ New desktop” button at the top of the screen.
- A new Virtual Desktop will appear, and you can start opening applications on it.
- Switching Between Desktops:
- You can switch between Virtual Desktops by clicking on the Task View button and selecting the desktop you want to access.
- Alternatively, use the keyboard shortcut
Windows key + Ctrl + Left/Right Arrowto cycle through your desktops.
3. Customizing Your Virtual Desktops
Naming Your Desktops:
- To keep your Virtual Desktops organized, you can rename them. In Task View, right-click on a desktop and select “Rename.” Give it a name that reflects its purpose, such as “Work,” “Personal,” or “Project A.”
Changing Backgrounds:
- Customize each Virtual Desktop with different wallpapers to visually distinguish them. Right-click on the desktop and select “Personalize,” then choose a new background.
4. Managing Applications Across Desktops
Moving Applications Between Desktops:
- In Task View, you can drag and drop open applications from one desktop to another.
- Right-click on an application window and select “Move to,” then choose the desired desktop.
Showing an Application on All Desktops:
- If you need an application to be available on all desktops (e.g., a music player), right-click the application in Task View and select “Show this window on all desktops.”
5. Boosting Productivity with Virtual Desktops
Organize Your Tasks:
- Dedicate a Virtual Desktop to specific tasks or projects. For example, use one desktop for work-related applications like email and spreadsheets, and another for personal tasks like browsing and social media.
Reduce Distractions:
- By separating work and personal tasks into different desktops, you can minimize distractions and stay focused on the task at hand.
Efficient Multitasking:
- Switch between different Virtual Desktops with ease, allowing you to quickly move from one task to another without losing your place.
6. Keyboard Shortcuts for Power Users
Essential Shortcuts:
Windows key + Ctrl + D– Create a new Virtual DesktopWindows key + Ctrl + F4– Close the current Virtual DesktopWindows key + Tab– Open Task ViewWindows key + Ctrl + Left/Right Arrow– Switch between Virtual Desktops
Why Use Shortcuts?
- Keyboard shortcuts can significantly speed up your workflow, making it easier to manage Virtual Desktops without interrupting your focus.
7. Advanced Tips for Virtual Desktop Users
Using Taskbar Settings:
- By default, the taskbar shows only the open applications for the current desktop. You can change this behavior by right-clicking the taskbar, selecting “Taskbar settings,” and choosing “All desktops” under the “Show taskbar buttons on” option.
Integration with Snap Layouts:
- Combine Virtual Desktops with Windows 11’s Snap Layouts to organize your applications within each desktop. This setup is particularly useful for managing complex workflows involving multiple apps.
Conclusion
Virtual Desktops in Windows 11 offer a powerful way to organize your workspace and boost productivity. By creating separate desktops for different tasks, customizing each environment, and mastering key shortcuts, you can streamline your workflow and maintain focus throughout the day. Whether you’re working on multiple projects, balancing work and personal life, or simply looking to declutter your desktop, Virtual Desktops are an essential tool in your productivity arsenal.
